ORC Week 5- Shirtless DIY... I Wish
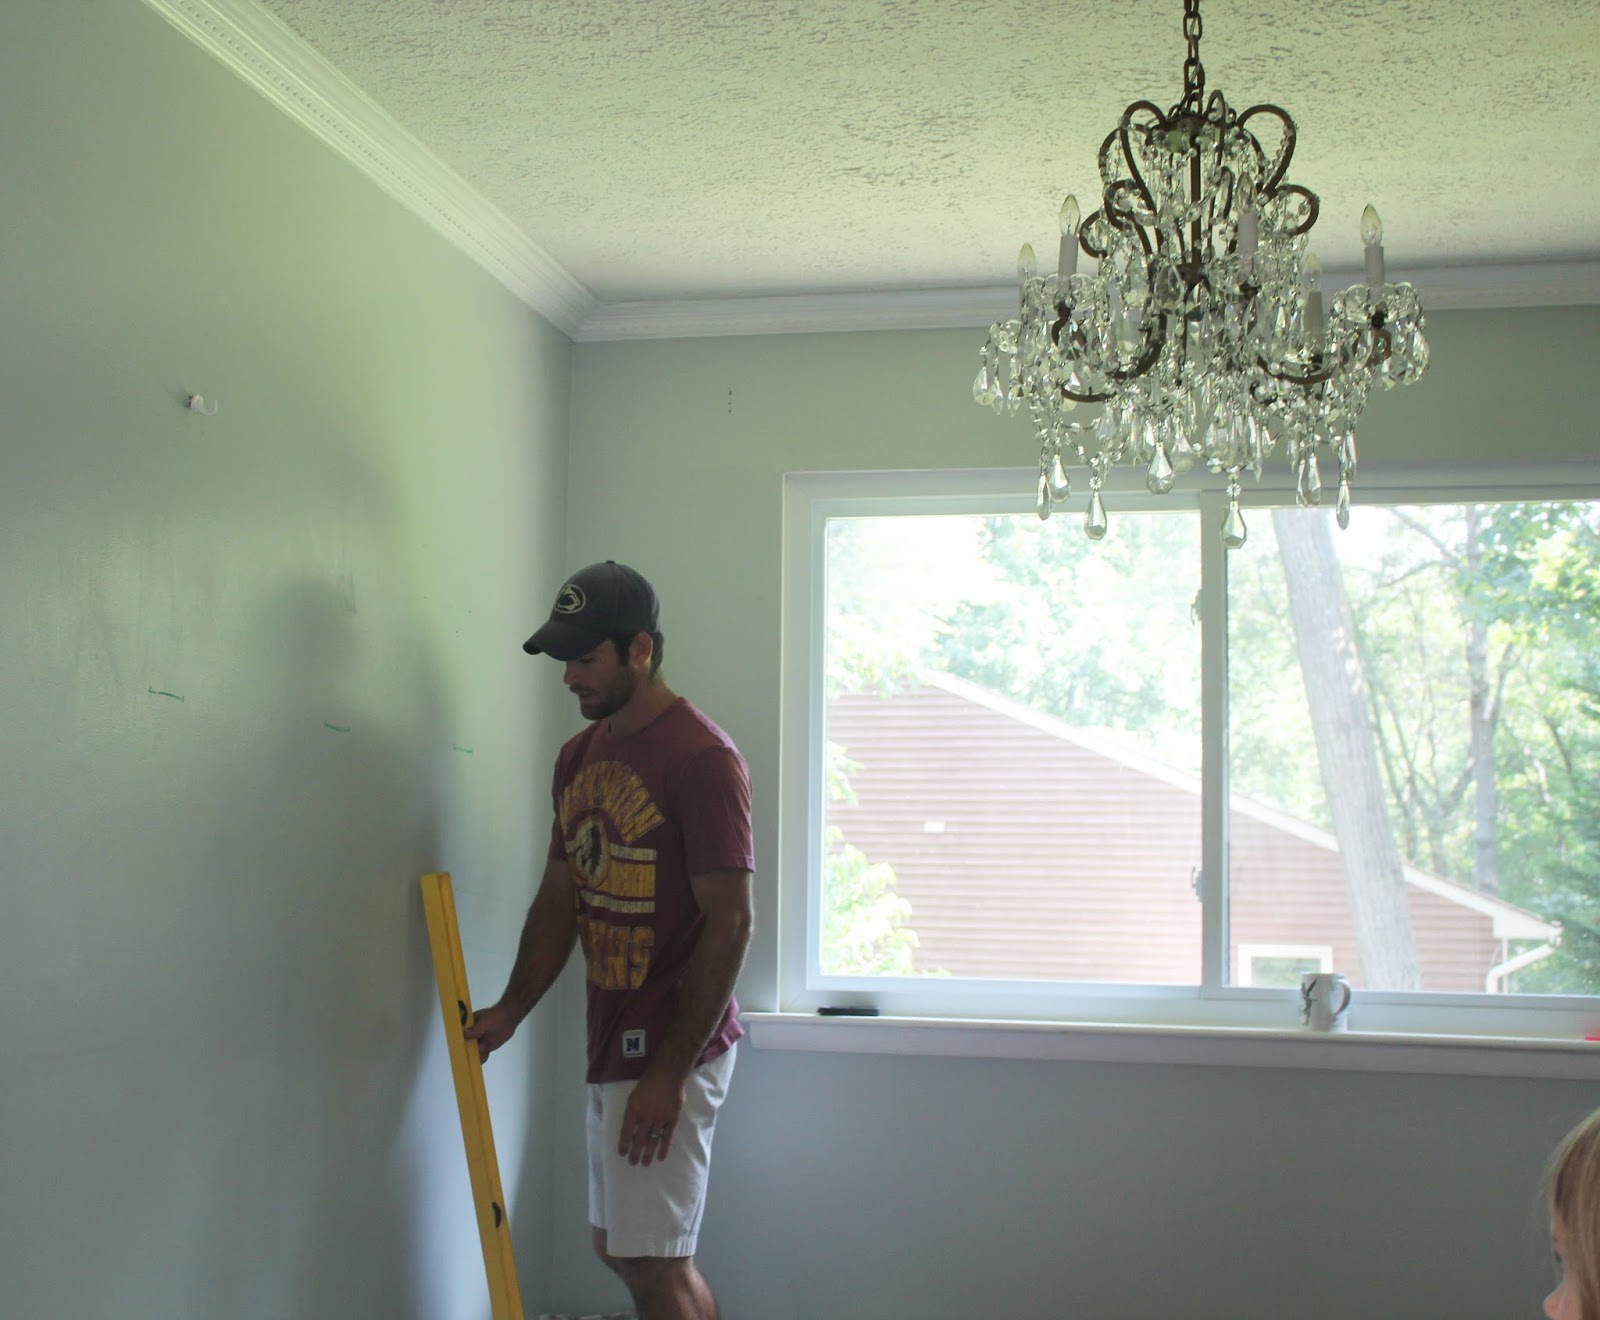
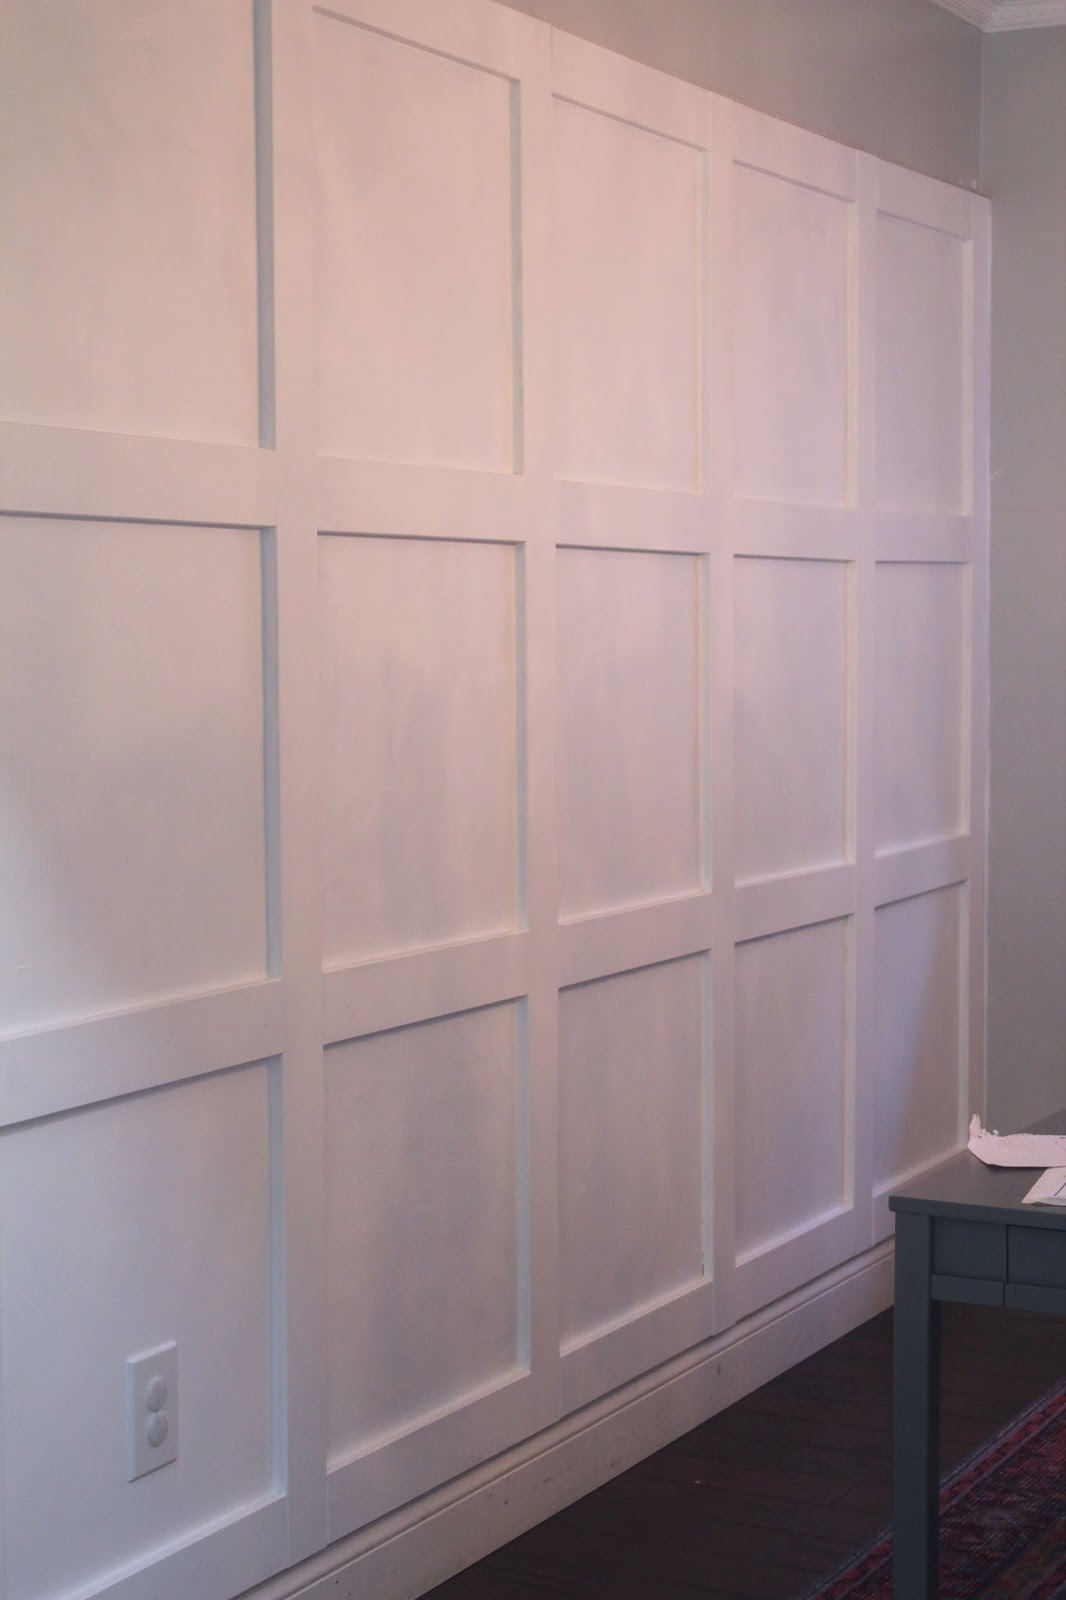
Step 2: Nail & SealOnce all the pieces were measured and cut we obviously had to nail them in place. My only tip for this step is to resist the urge to nail the crap out of your wall. You want to be able to cover all the nail holes with caulk without the wall looking to banged up.Step 3: Caulk and SandNo matter how well you measure and cut you are bond to have some seams that are further apart than others. Especially if your a newbie at this whole DIY thing. But fear not caulk can hide all errors. Even if you don't have big old gaps in your squares, it is safe to caulk them just to make sure things don't fall out of the wall onto your child's head.Step 4: PaintMy husband thought I was seriously cray cray when he came home with white paint that was "THE WRONG SHADE OF WHITE!" Yes there are literally thousands of whites on the market right now. I wanted a cool white since the rest of the room was gray. I went with Benjamin Moore Chantilly Lace and it looks amazing day and night.
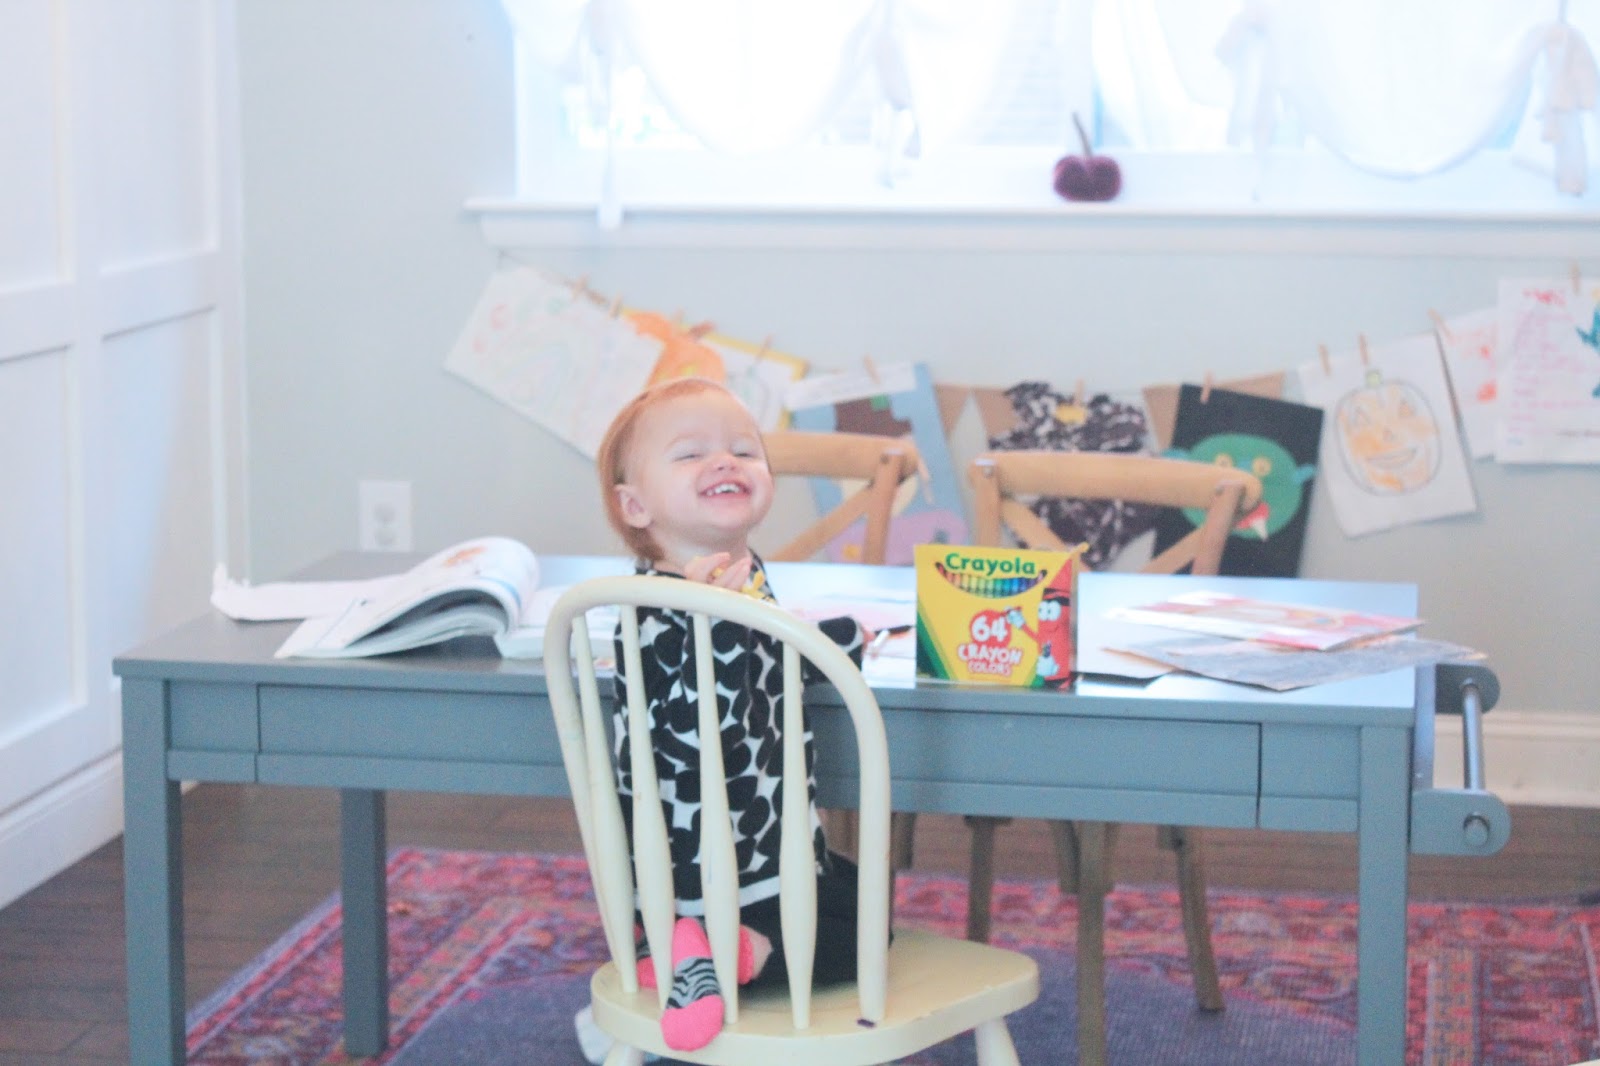
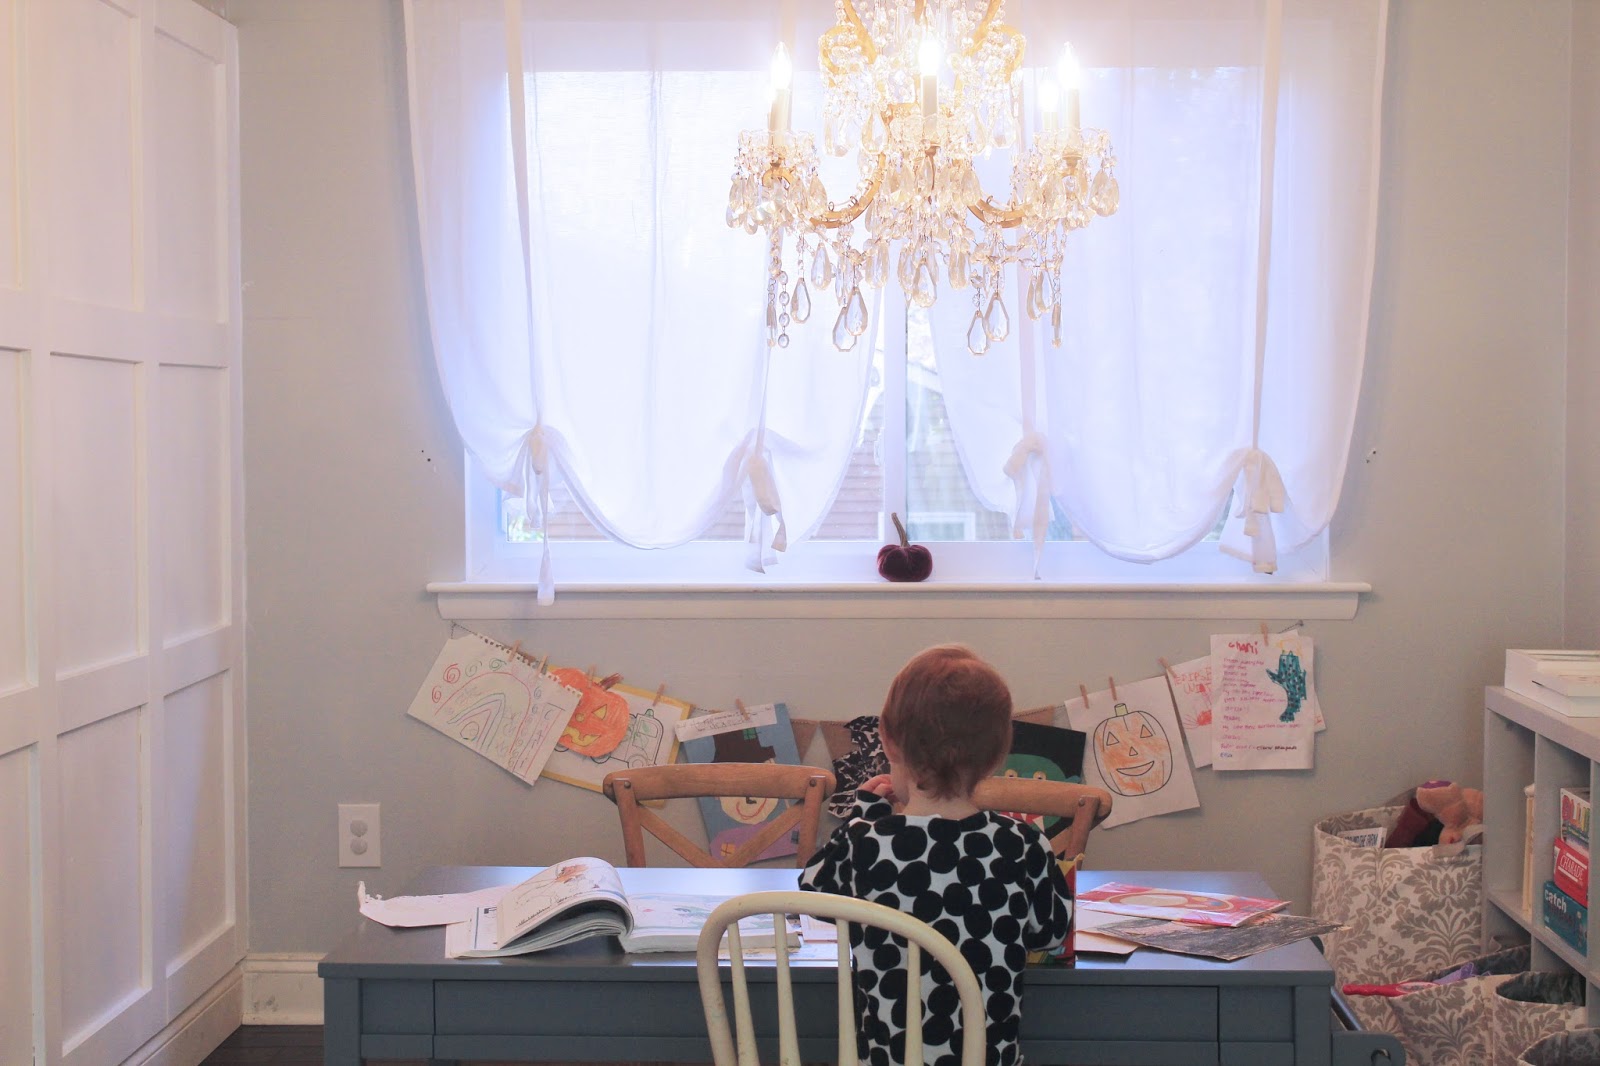
Step 5: Enjoy and watch your baby eat crayonsThe kids really do love this space now that it has almost reached completion. And I have to say I find myself wandering in the playroom at night just to admire all of our hard work. It really is great to have a space that not only reflects your own personal style but once your whole family can enjoy!
Now all thats left is to refinish the old play chairs, hang the art work and get ready for final reveal week! This has been so much fun participating in and I can't thank Calling it Home enough for opening up the challenge for other bloggers like myself to enjoy! Until next week my friends:)